Perfect Tarte Tatin in 10 Easy Steps
The mornings have turned chilly quite suddenly and so it is apple season! And so it is also tarte tatin season. Let’s talk about this.
It is the easiest of all desserts, and yet the instructions for tarte tatin are always intimidating. Witness the struggles of our pal Deb over at the wonderful Smitten Kitchen. Back in 2008, she endorsed a friend’s recipe, which is very good, because she’d ruined too many herself. Finally, last spring, Deb engineered a recipe of her own, based off Julia Child’s. I disagree with both of them, somewhat! Maybe even with Julia Child! (Waits for lightning bolt to strike me down.) Where we all do agree is that tarte tatin is a little unpredictable, and therefore, I think, it should be treated as casually as possible. If a dish is going to turn against you half the time, why fight with it? So here’s how to whip one out casually. It’s extremely easy and fast and satisfying and you feel like a pretty, full-hipped French lady in a chic blouse in some wonderful country farmhouse while you make it. (So, basically, like David Sedaris.)
1. Peel and core a bunch of firm and preferably tart apples. I like to use a big pan for all this, so it’s often like 7 or 8 or even 9 smallish apples. (I tend to crowd the tart, and I use a 12″ pan with 2″ sides. Most other people use a 9″ pan or smaller. Don’t use a 12″ pan unless you have someone with good upper-body strength around for the flipping at the end! I am weak.) Dump the apples in a bowl with lemon juice and a sprinkling of sugar and let them sit there and dehydrate a bit.
2. While that is happening, you are going to make the easiest pate brisée ever. That’s “dough” to you Americans. Here is my latest iteration, and it’s what I’m sticking with. This is my only talent, so listen to me.
• Put 1 ½ cups of cold or at least not-hot flour in a bowl with a little salt and a little sugar.
• Cut up a stick, or a little more than a stick, of good cold butter into like 10 pieces. (This replaces my last enthusiasm: grating frozen butter into flour. That’s a great technique, but I want even bigger butter chunks.)
• Kinda rub the butter chunks in the flour for a short while. It’s not really supposed to integrate! Just a little light melting and engagement. The flour should get a little greasy.
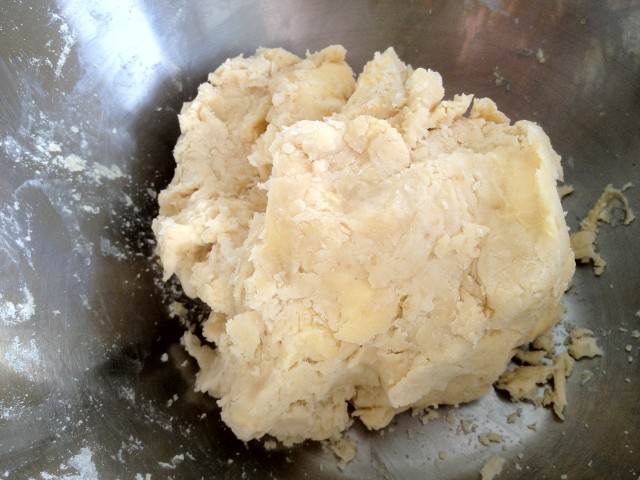
• Turn this mess around a bit while you drip a bit of cold water into the bowl, until it sorta hangs together a bit. You should have big and small clumps of butter in this mixture. What do I mean?
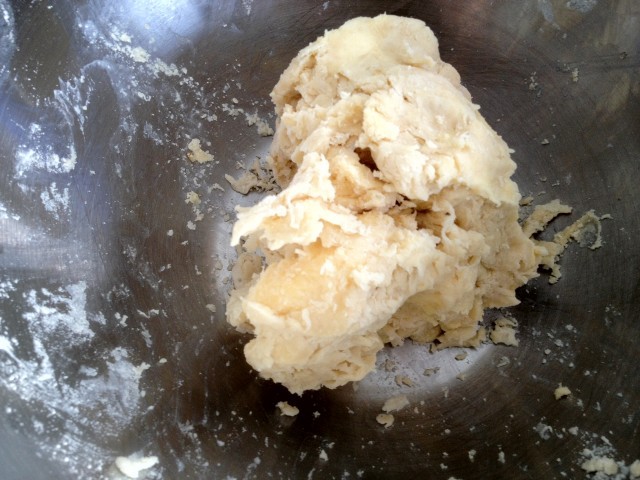
• Shove this bowl as-is in the freezer for a few minutes, then the fridge. Because it’s APPLE-COOKING TIME.
3. Dump a stick of really good salted butter (YES SALTED BUTTER) in your big pan that is oven-safe. Melt it. This can be a skillet, or any big ol’ pan with sides of a couple inches that can go in the oven. This is not a terrible time to preheat your oven to 400°F.
4. Throw a cup of really good sugar in the melted butter. Stir, stir, stir. Sometimes I even add like a tiny bit of salt, but that might be crazy. The sugar is not really going to integrate either, particularly if your sugar is chunky instead of fine. (I like a fancy golden Hawaiian sugar.) That’s okay. Just keep it hot and stir and do this for, hmm, five or so minutes. Could be ten! It should darken or at least golden a little. But don’t go too far. The real cooking comes with the apples.
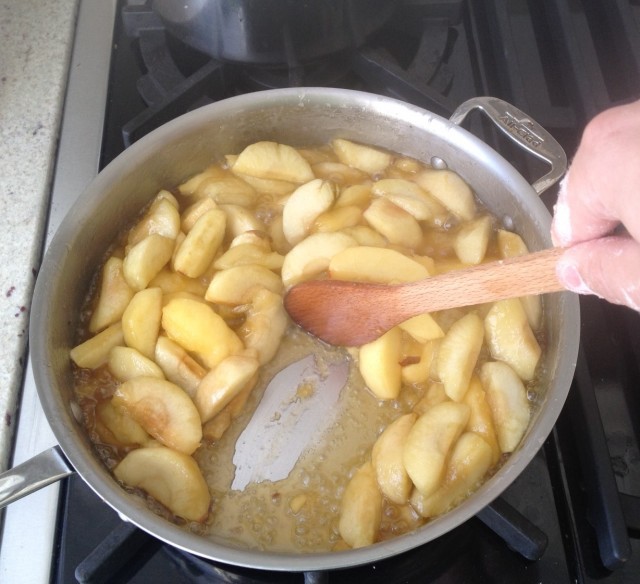
5. Scoop your apples out of the bowl (not pour; you don’t want the extra liquid) and into the caramel you’re making. Do it willy-nilly. Everyone else “arranges the apples” in circles or whatever. If I had time to arrange apples in pretty shapes, I wouldn’t have time to do anything else. I put them in there and stir till they’re coated and I don’t worry about it.
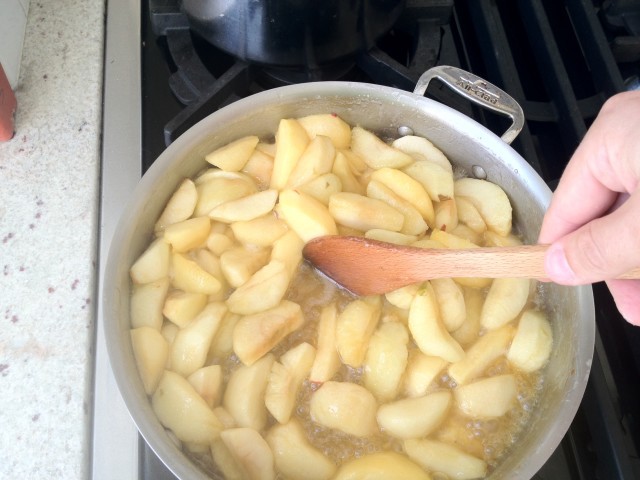
6. So! Stir! And release. And stir! And the apples release their foul juices in the caramel. So this comes into a bubbly soup-mess for a while. The pan needs to be hot enough to be evaporating liquid. Sorta sub-boiling. I tend to let it cool a bit then heat it hot then cool it a little. And over the next 10 to really more like 15 but maybe even 20 minutes, it’ll boil down. The apples will soften. At a certain point, it’ll become sticky, not soupy. Then the apples will be very soft. Here is where you enter danger period. You can both panic and yank it too soon, and then also you can easily burn the whole thing to grossness. Aim for a slightly browned syrup — but err on the side of undercooking — you can fix that later! If there is “smoking” things have gone wrong and you have not been paying attention.
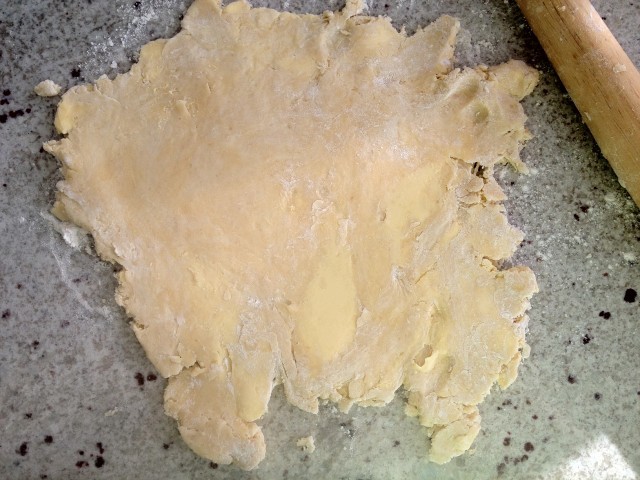
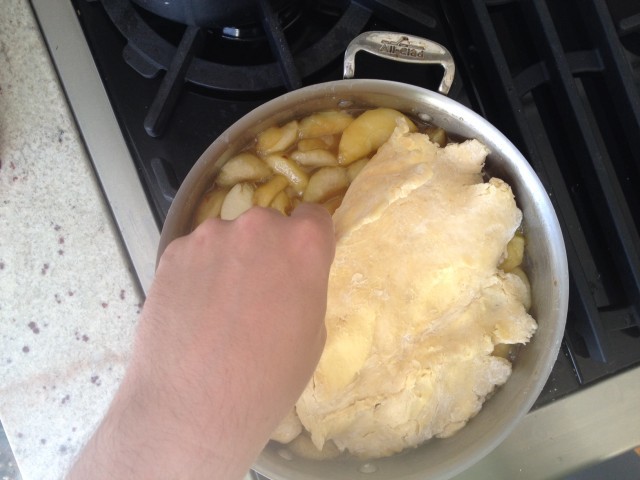
7. Take out your chilly crust, and sorta roll it out. It won’t roll well! Just Frankenstein that thing together, use your fingers, and pop it on top the apples as best you can and shove it into the oven — fast! Your crust is melllttttinnnng!
8. The crust will look disgusting in the first five minutes of cooking. It’ll be a pool of butter. That’s good.
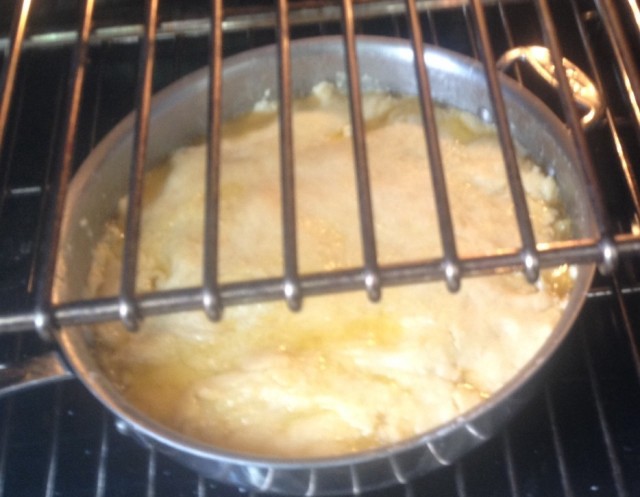
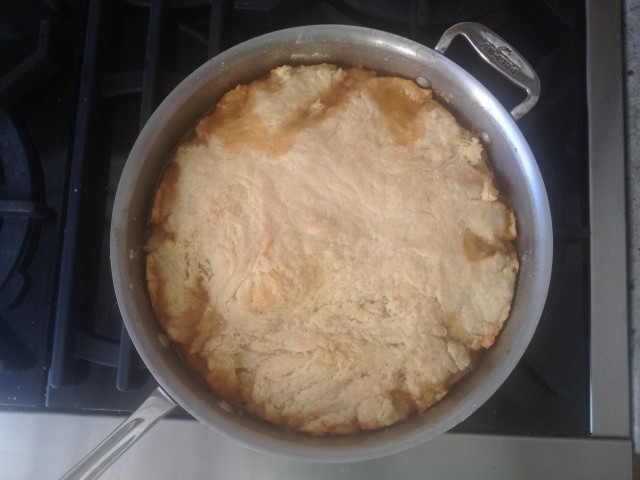
Anyway, everyone says “20 minutes.” It’s never really 20 minutes. (And no one really agrees on temperature: people range from 375 to 425. I think 400 is best.) Basically you want the crust to get tanned. Check it at 15 minutes, then set a timer for every 5 minutes. If you tap it, it should be hard. (Yup.)
9. Julia Child has a great thing in The Way to Cook on this part. When you take it out of the oven, you enter the stage of “Verification.” To wit: “Tilt the pan, and if the juices are runny rather than a thick syrup, boil down rapidly on top of the stove, but be sure not to evaporate them completely.” See? This is where you save your mess if you undercooked.
10. Take it out (CAUTIOUSLY) and run a knife around the edge of everything and then have someone fearless turn the burning hot skillet with its terrifying sugar-juices upside down onto a plate. Then unstick the apples that got a little stuck to the bottom of the pan and you’re gold. Actually with any luck you’re a delicious brown-gold, not actually gold. Actual “gold” means you didn’t cook the apples hard enough. Who cares? It’ll still taste good, I mean, it’s apples and butter and sugar, the worse-case scenario is you could be like, “Oh it could actually be better I guess.” You’ll know when you’ve gotten it right. Make another in a few days.